Application Guide: Master the Art of Enhancing Your Look
Estimated installation time: less than 5 minutes
Transform your look in less than 5 minutes with our easy-to-apply eyelash extensions!
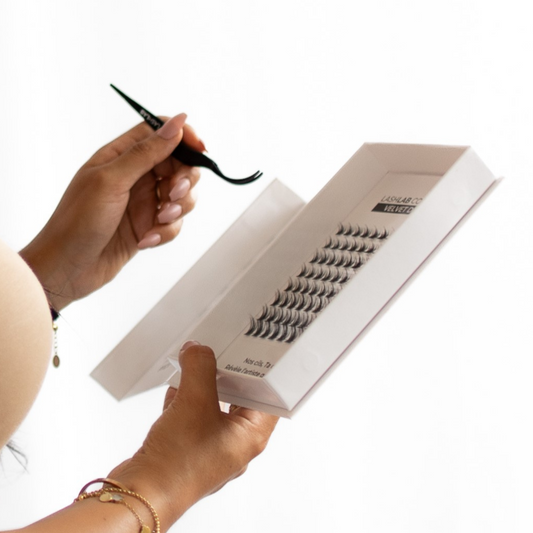
Before you begin, make sure you have all the necessary materials on hand:

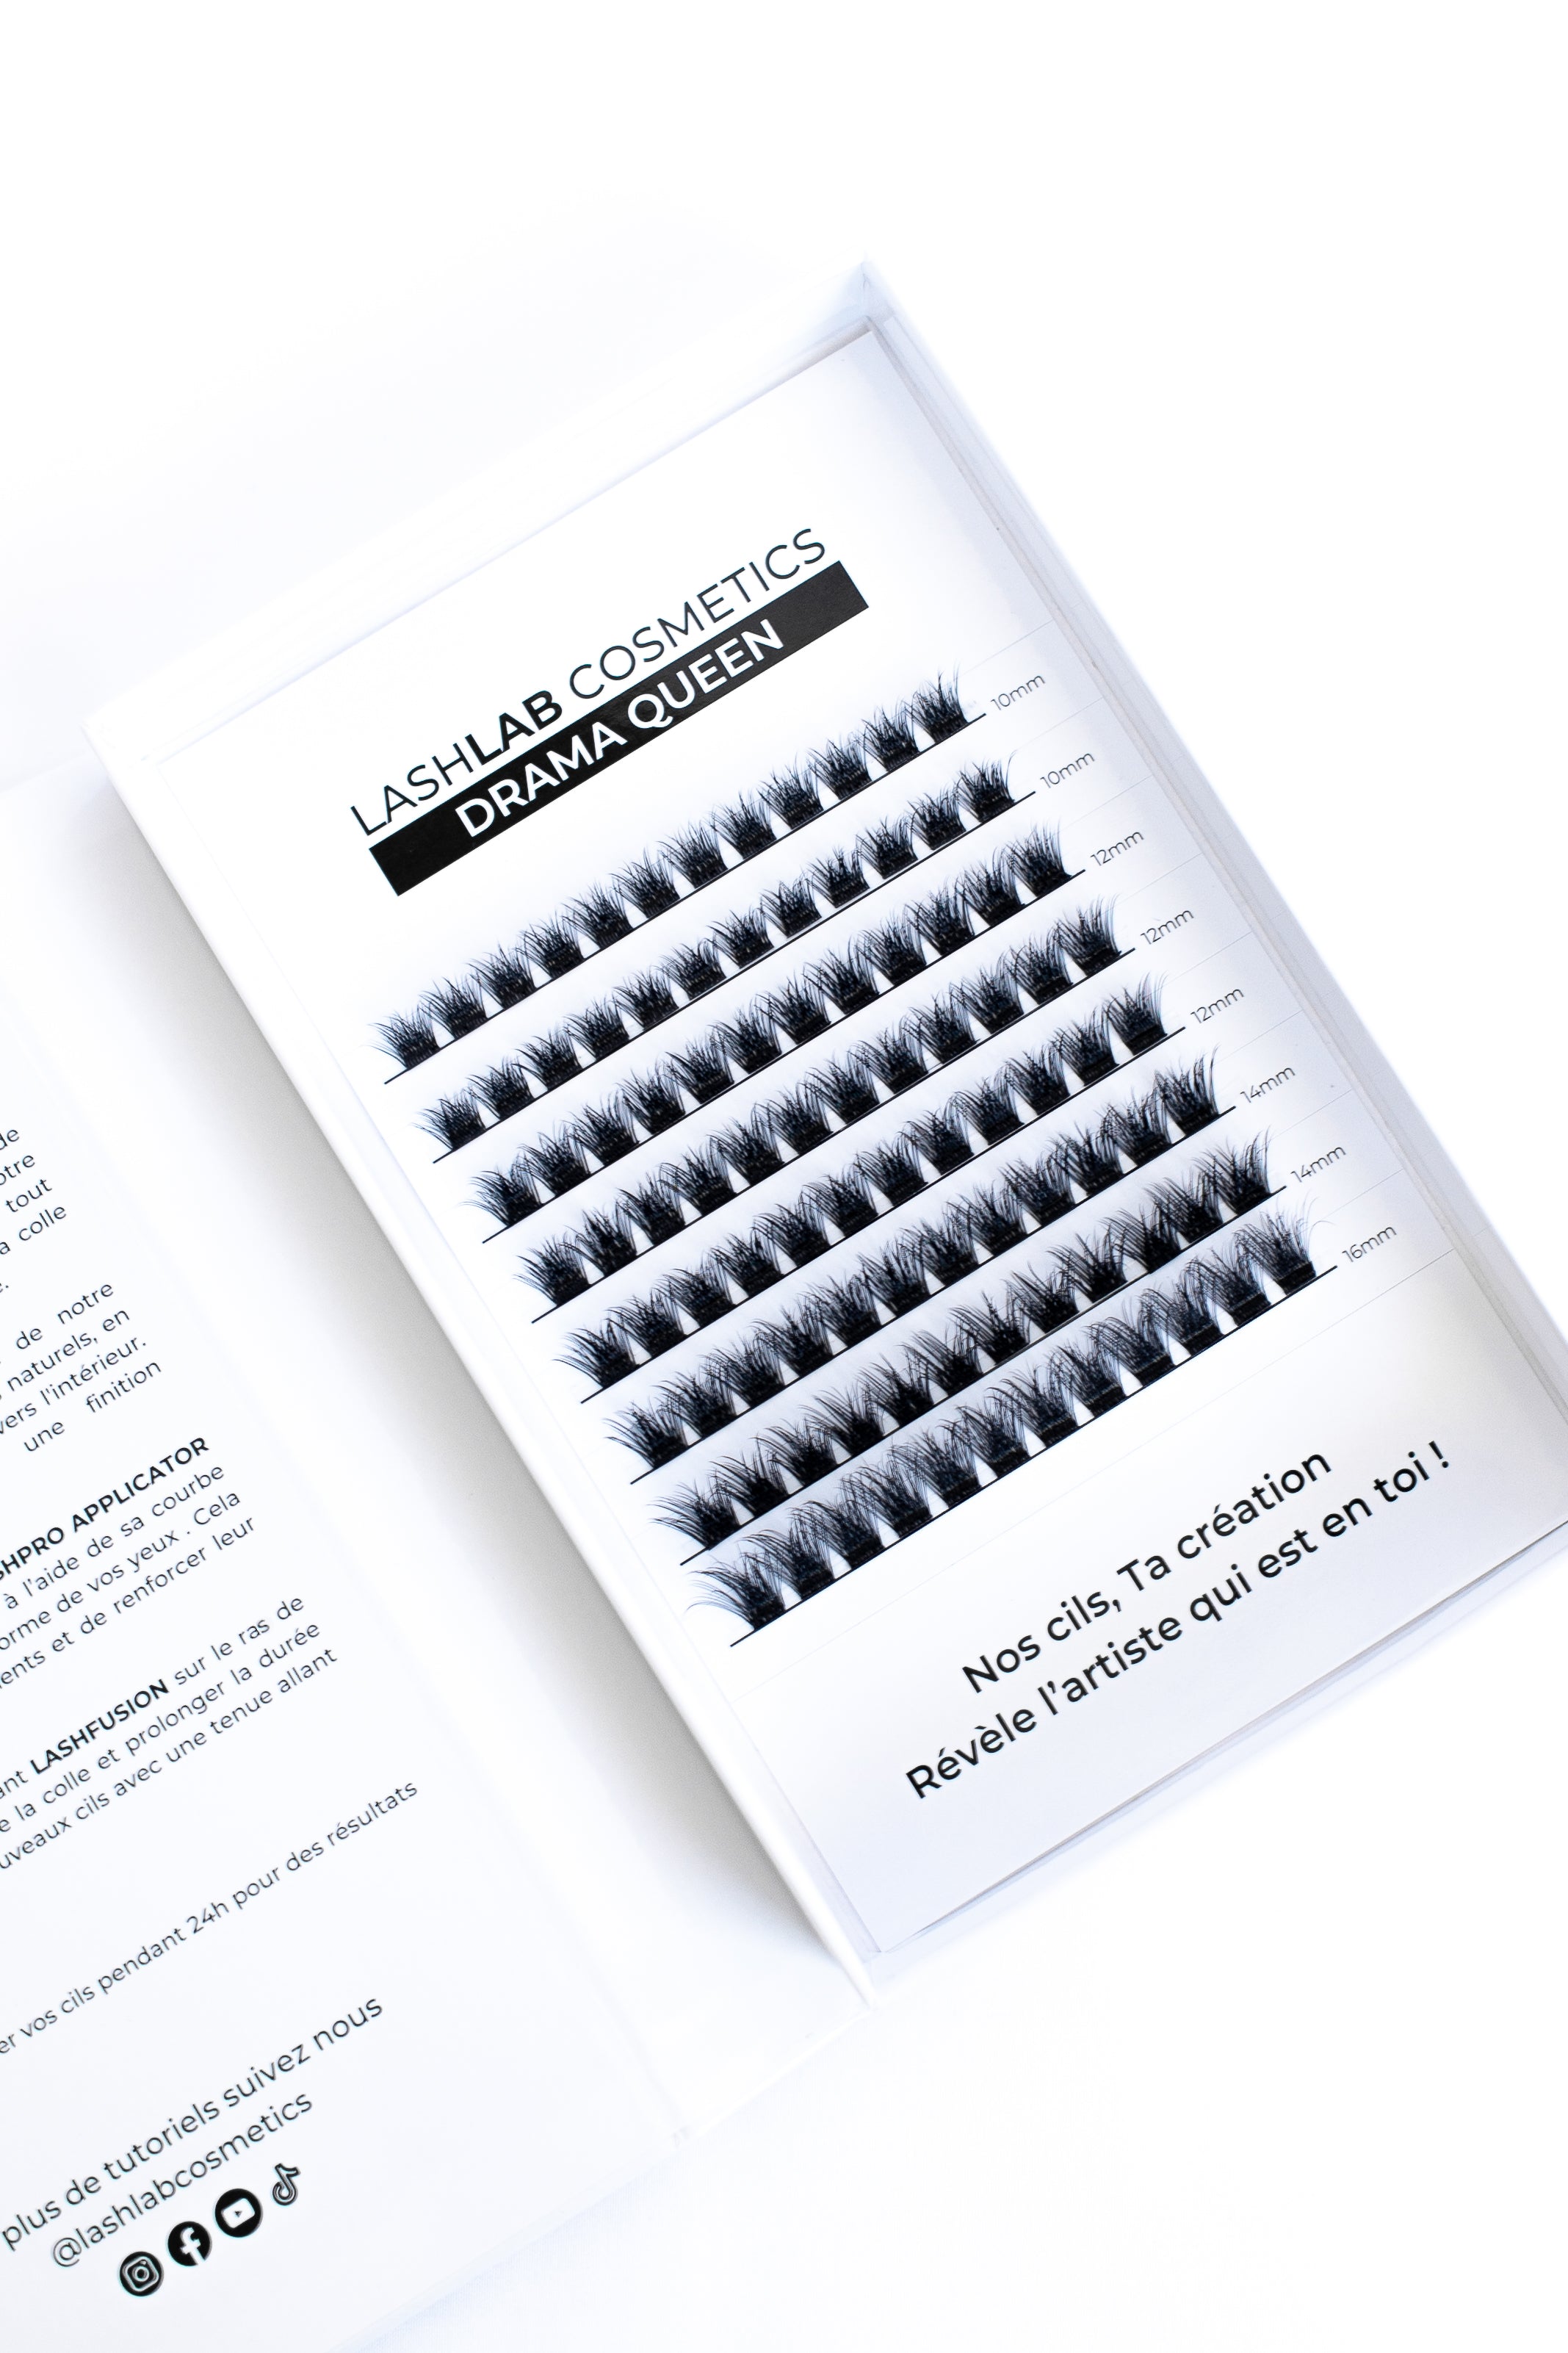
- A tray of eyelashes of your choice

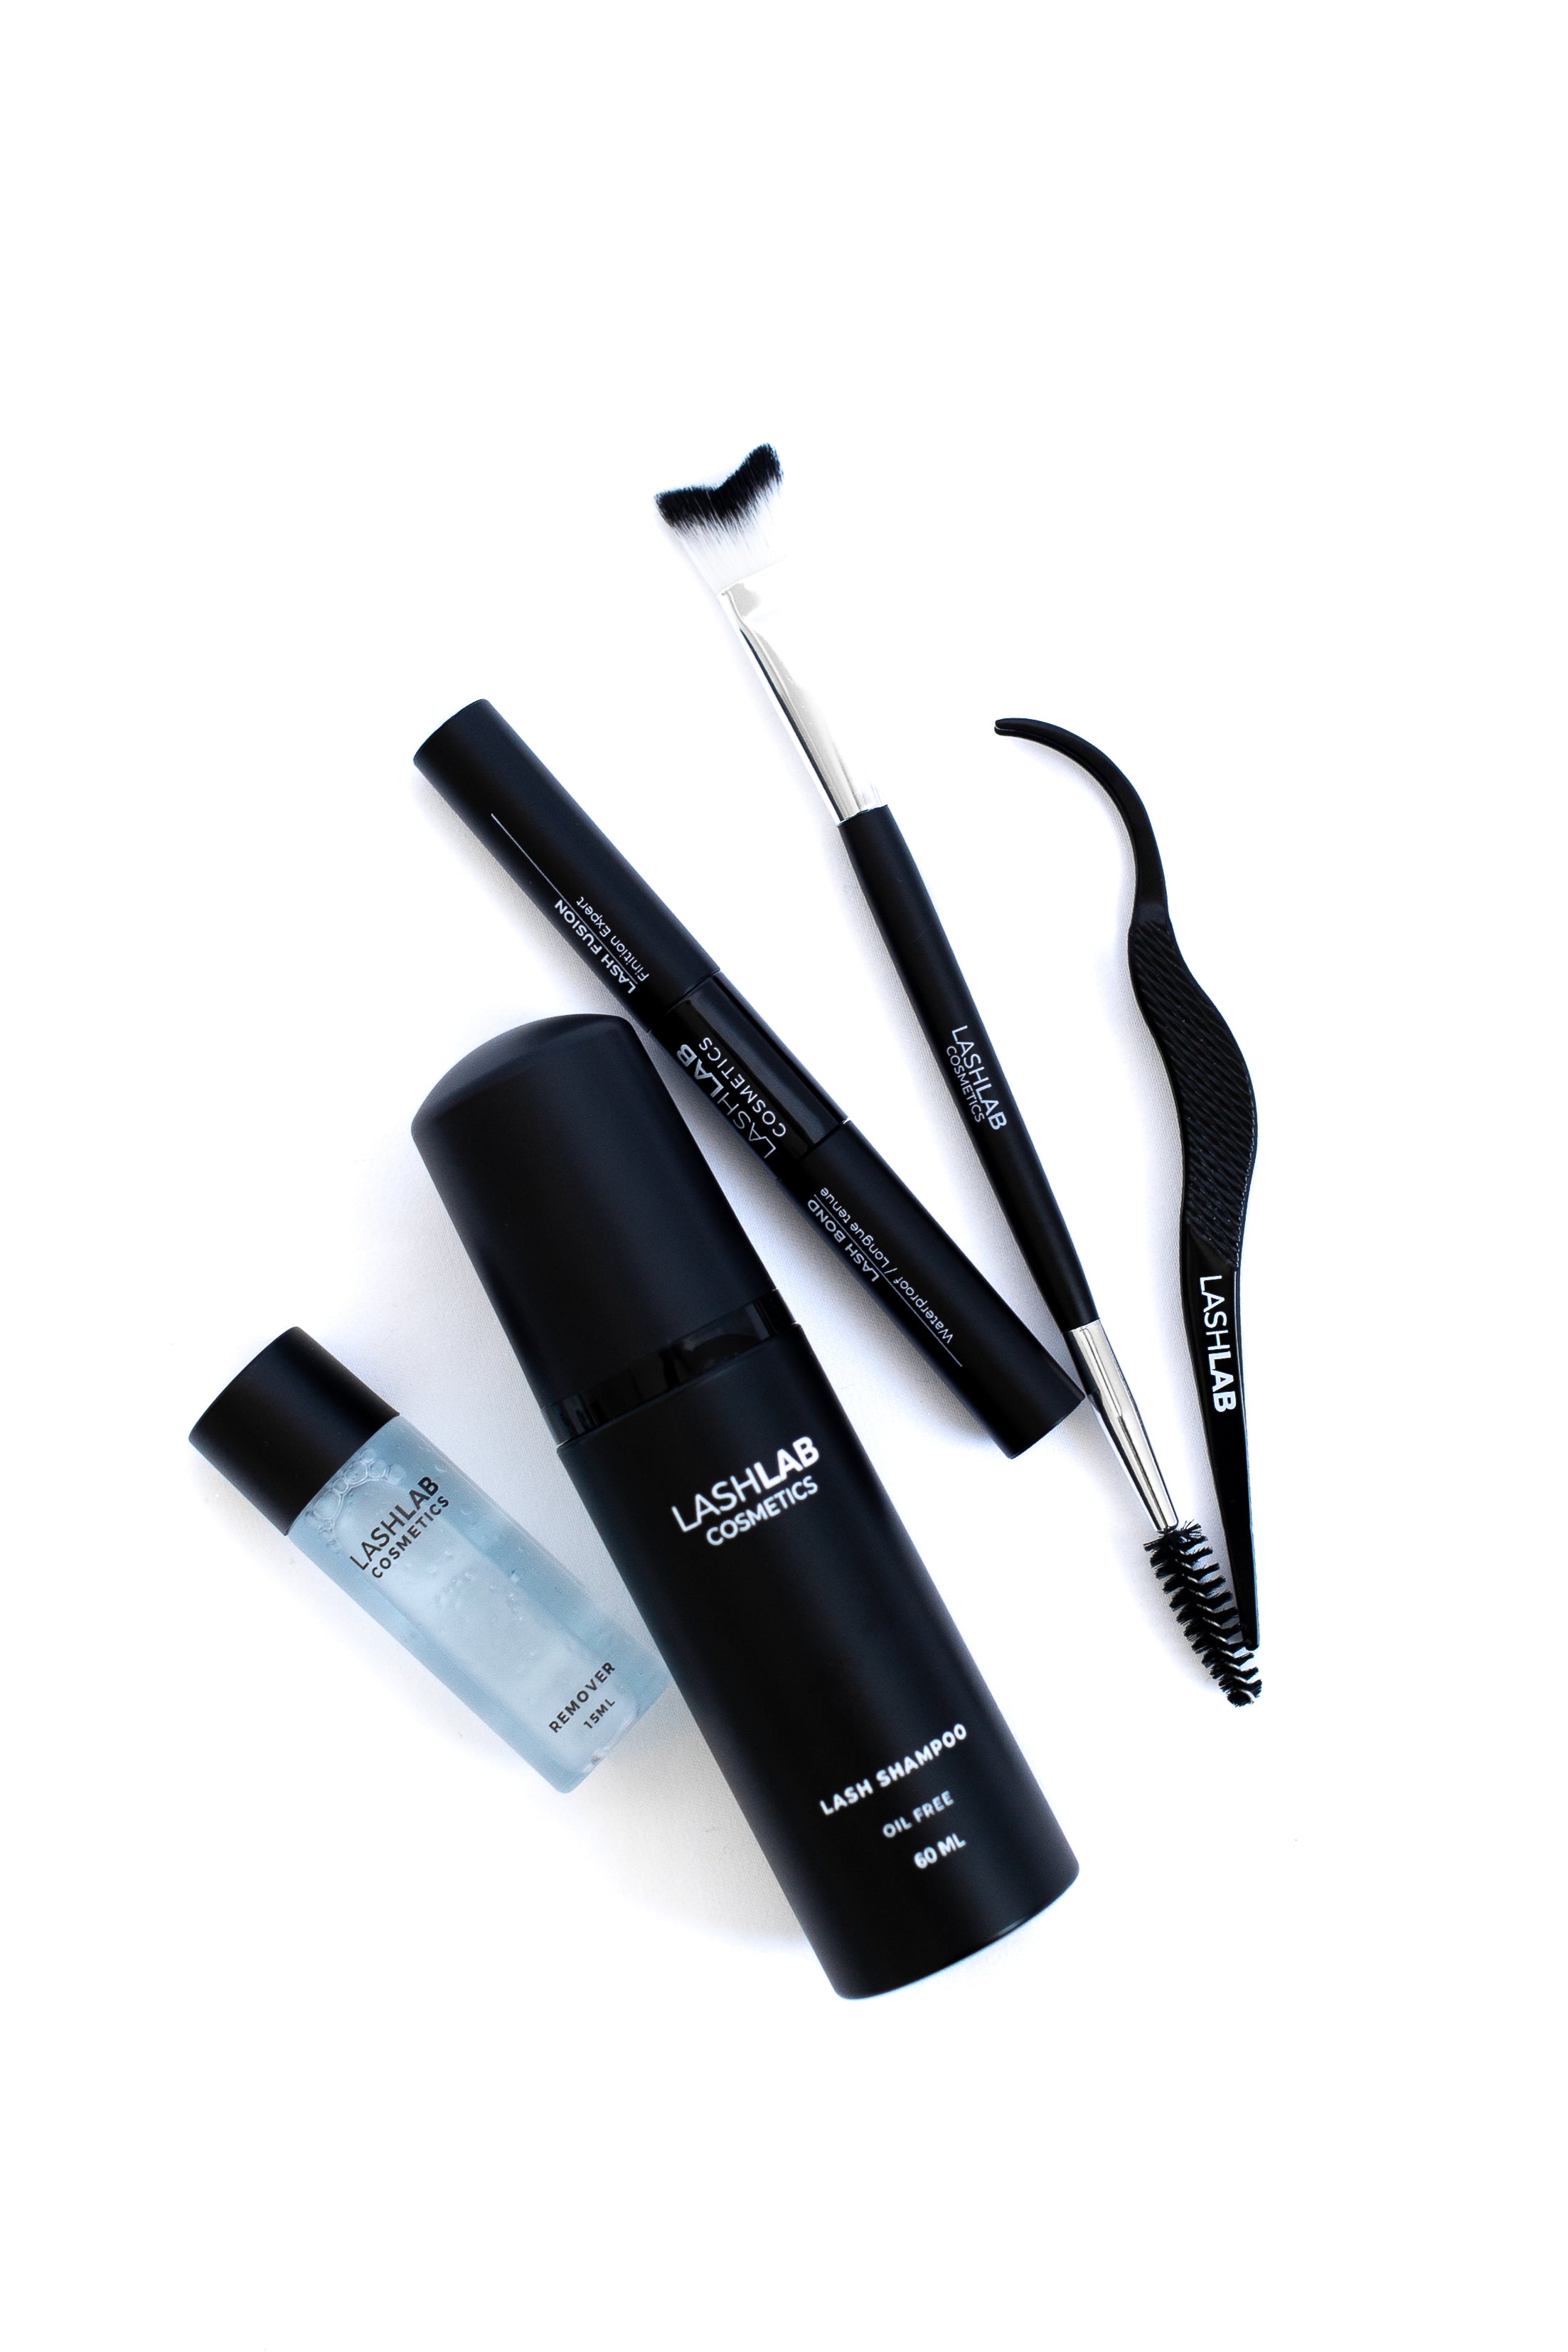
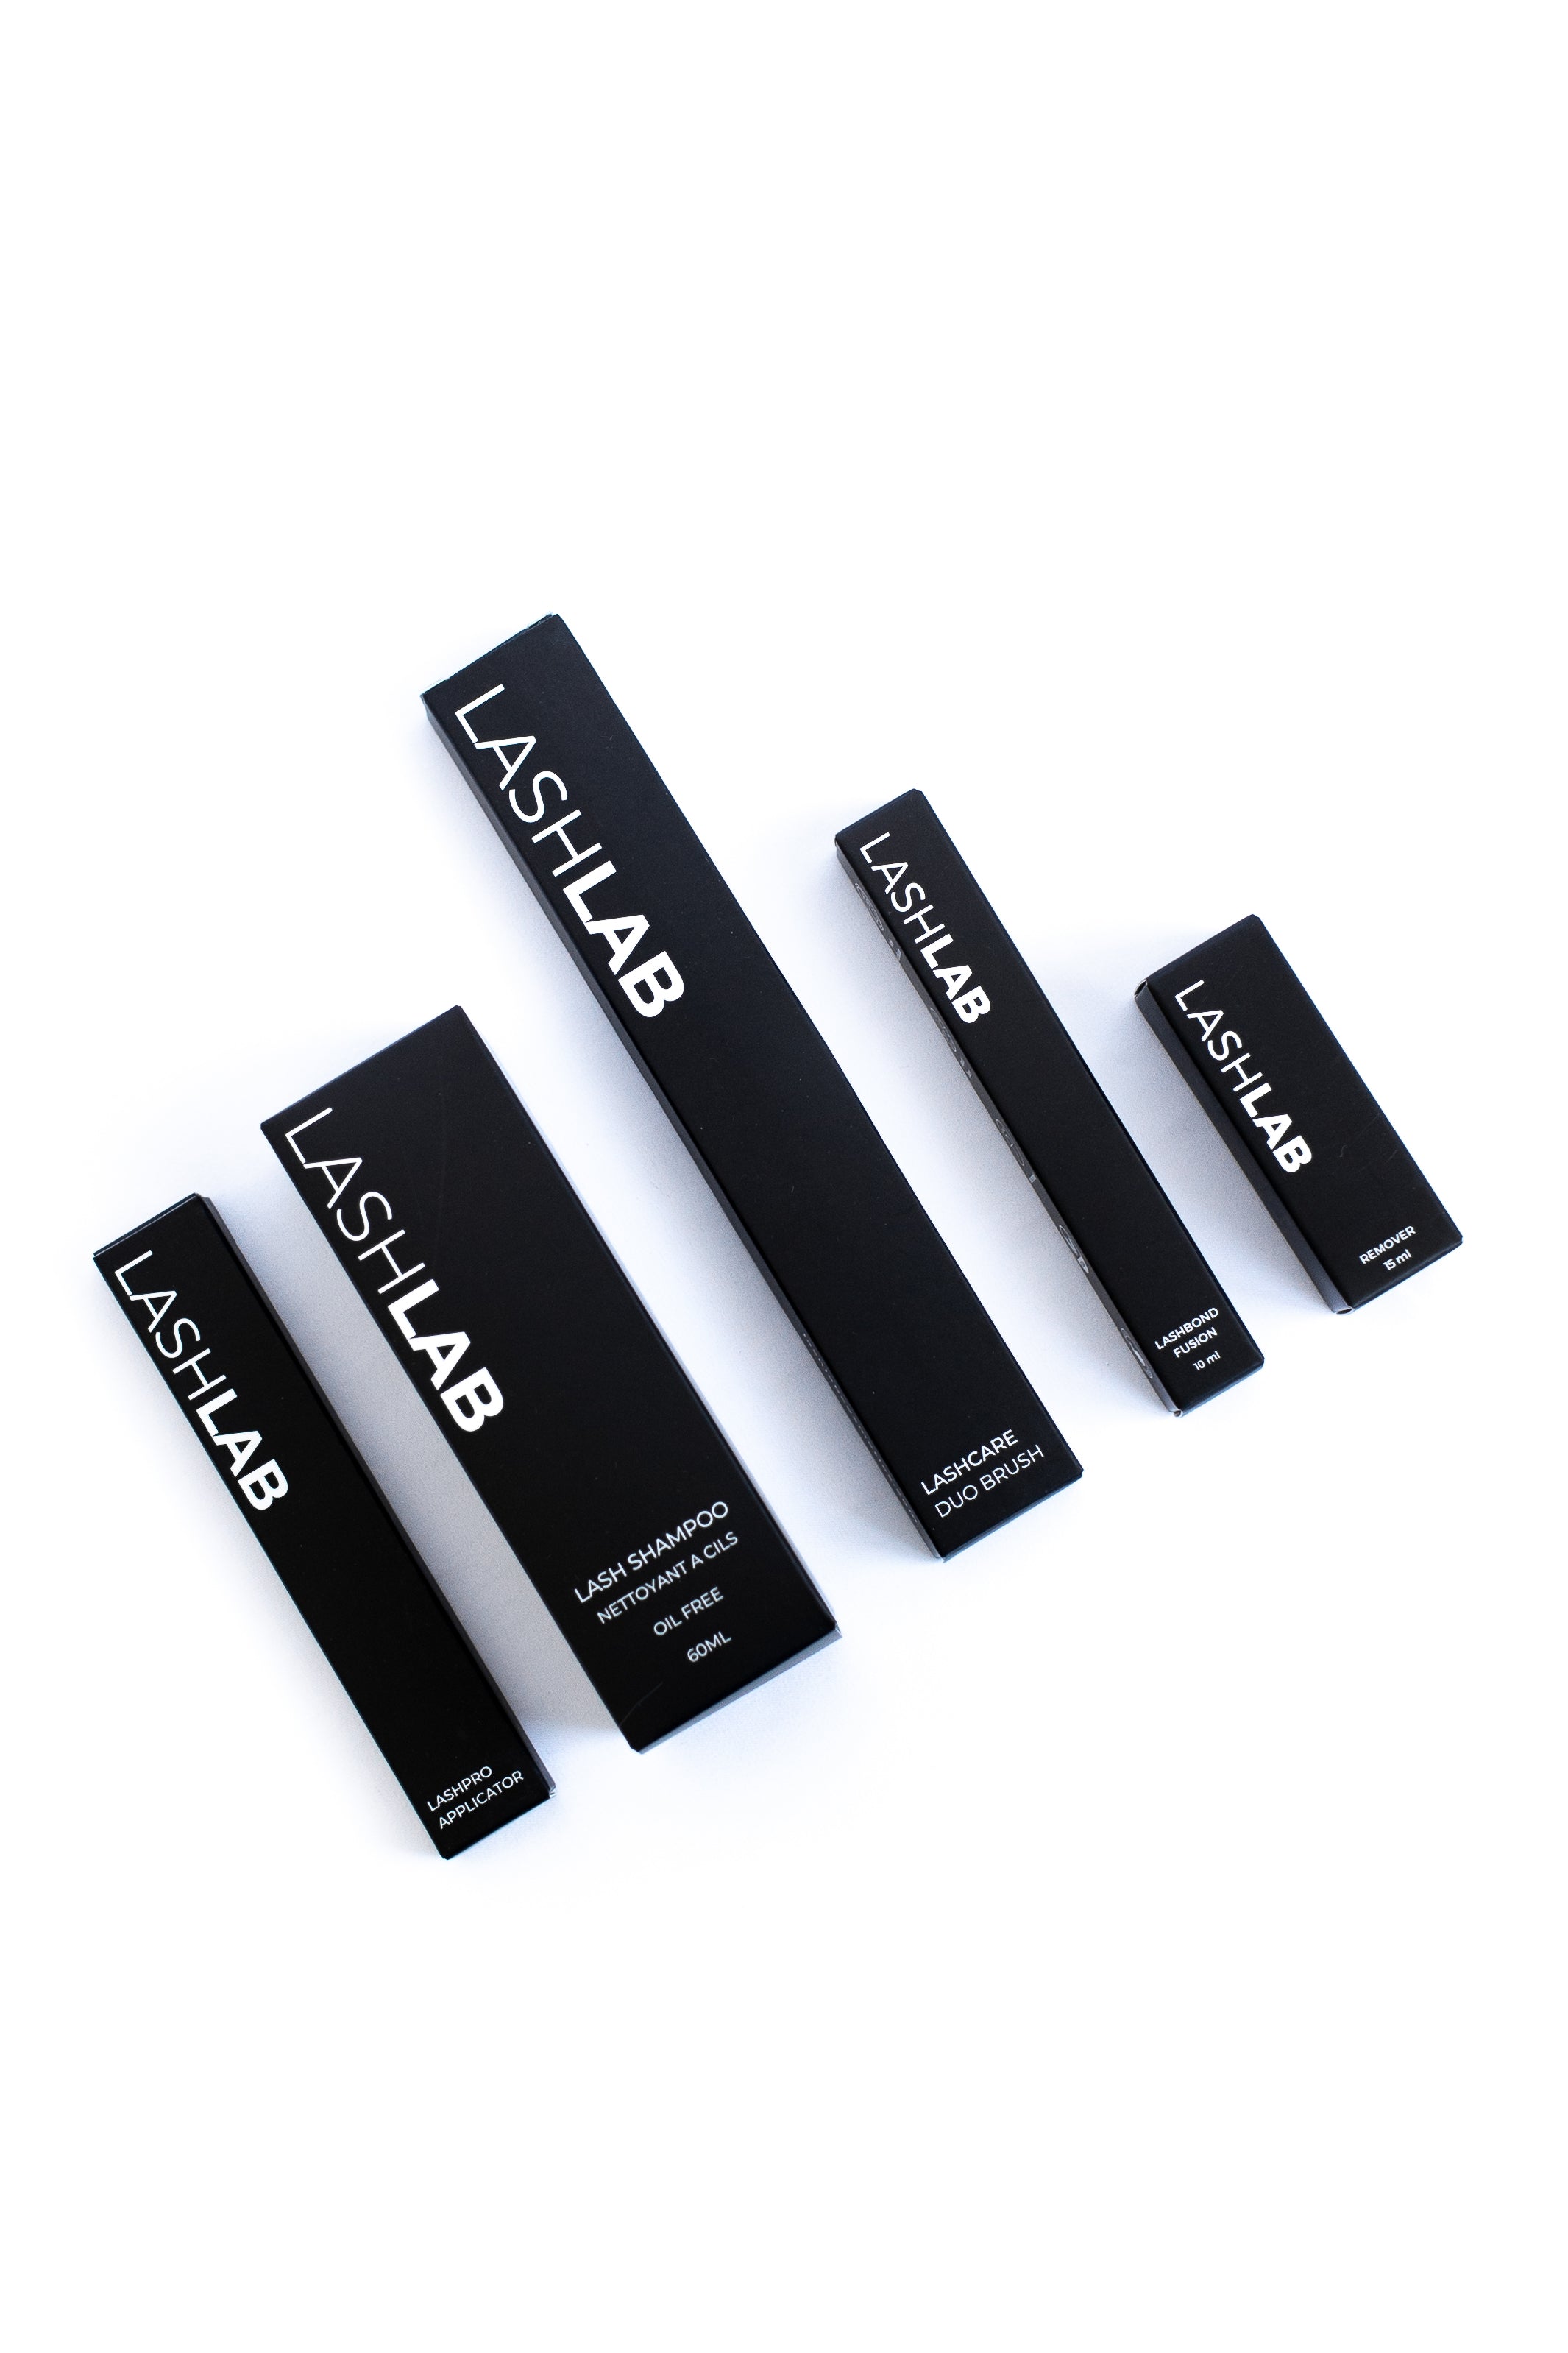
- Our 2in1 LASHBOND FUSION adhesive for optimal and long-lasting adhesion
- Our LASHPRO APPLICATOR tweezers, designed for precision and ease of application
Step 1: Prepare your lashes and apply LASHBOND adhesive
Make sure your natural lashes are clean and free of any makeup or residue.
Apply a thin layer of our LASHBOND adhesive to the base of the lashes, making sure to remove any excess for optimal results. Allow the adhesive to set for 10-20 seconds to allow for perfect adhesion.
Step 2: Apply eyelash extensions
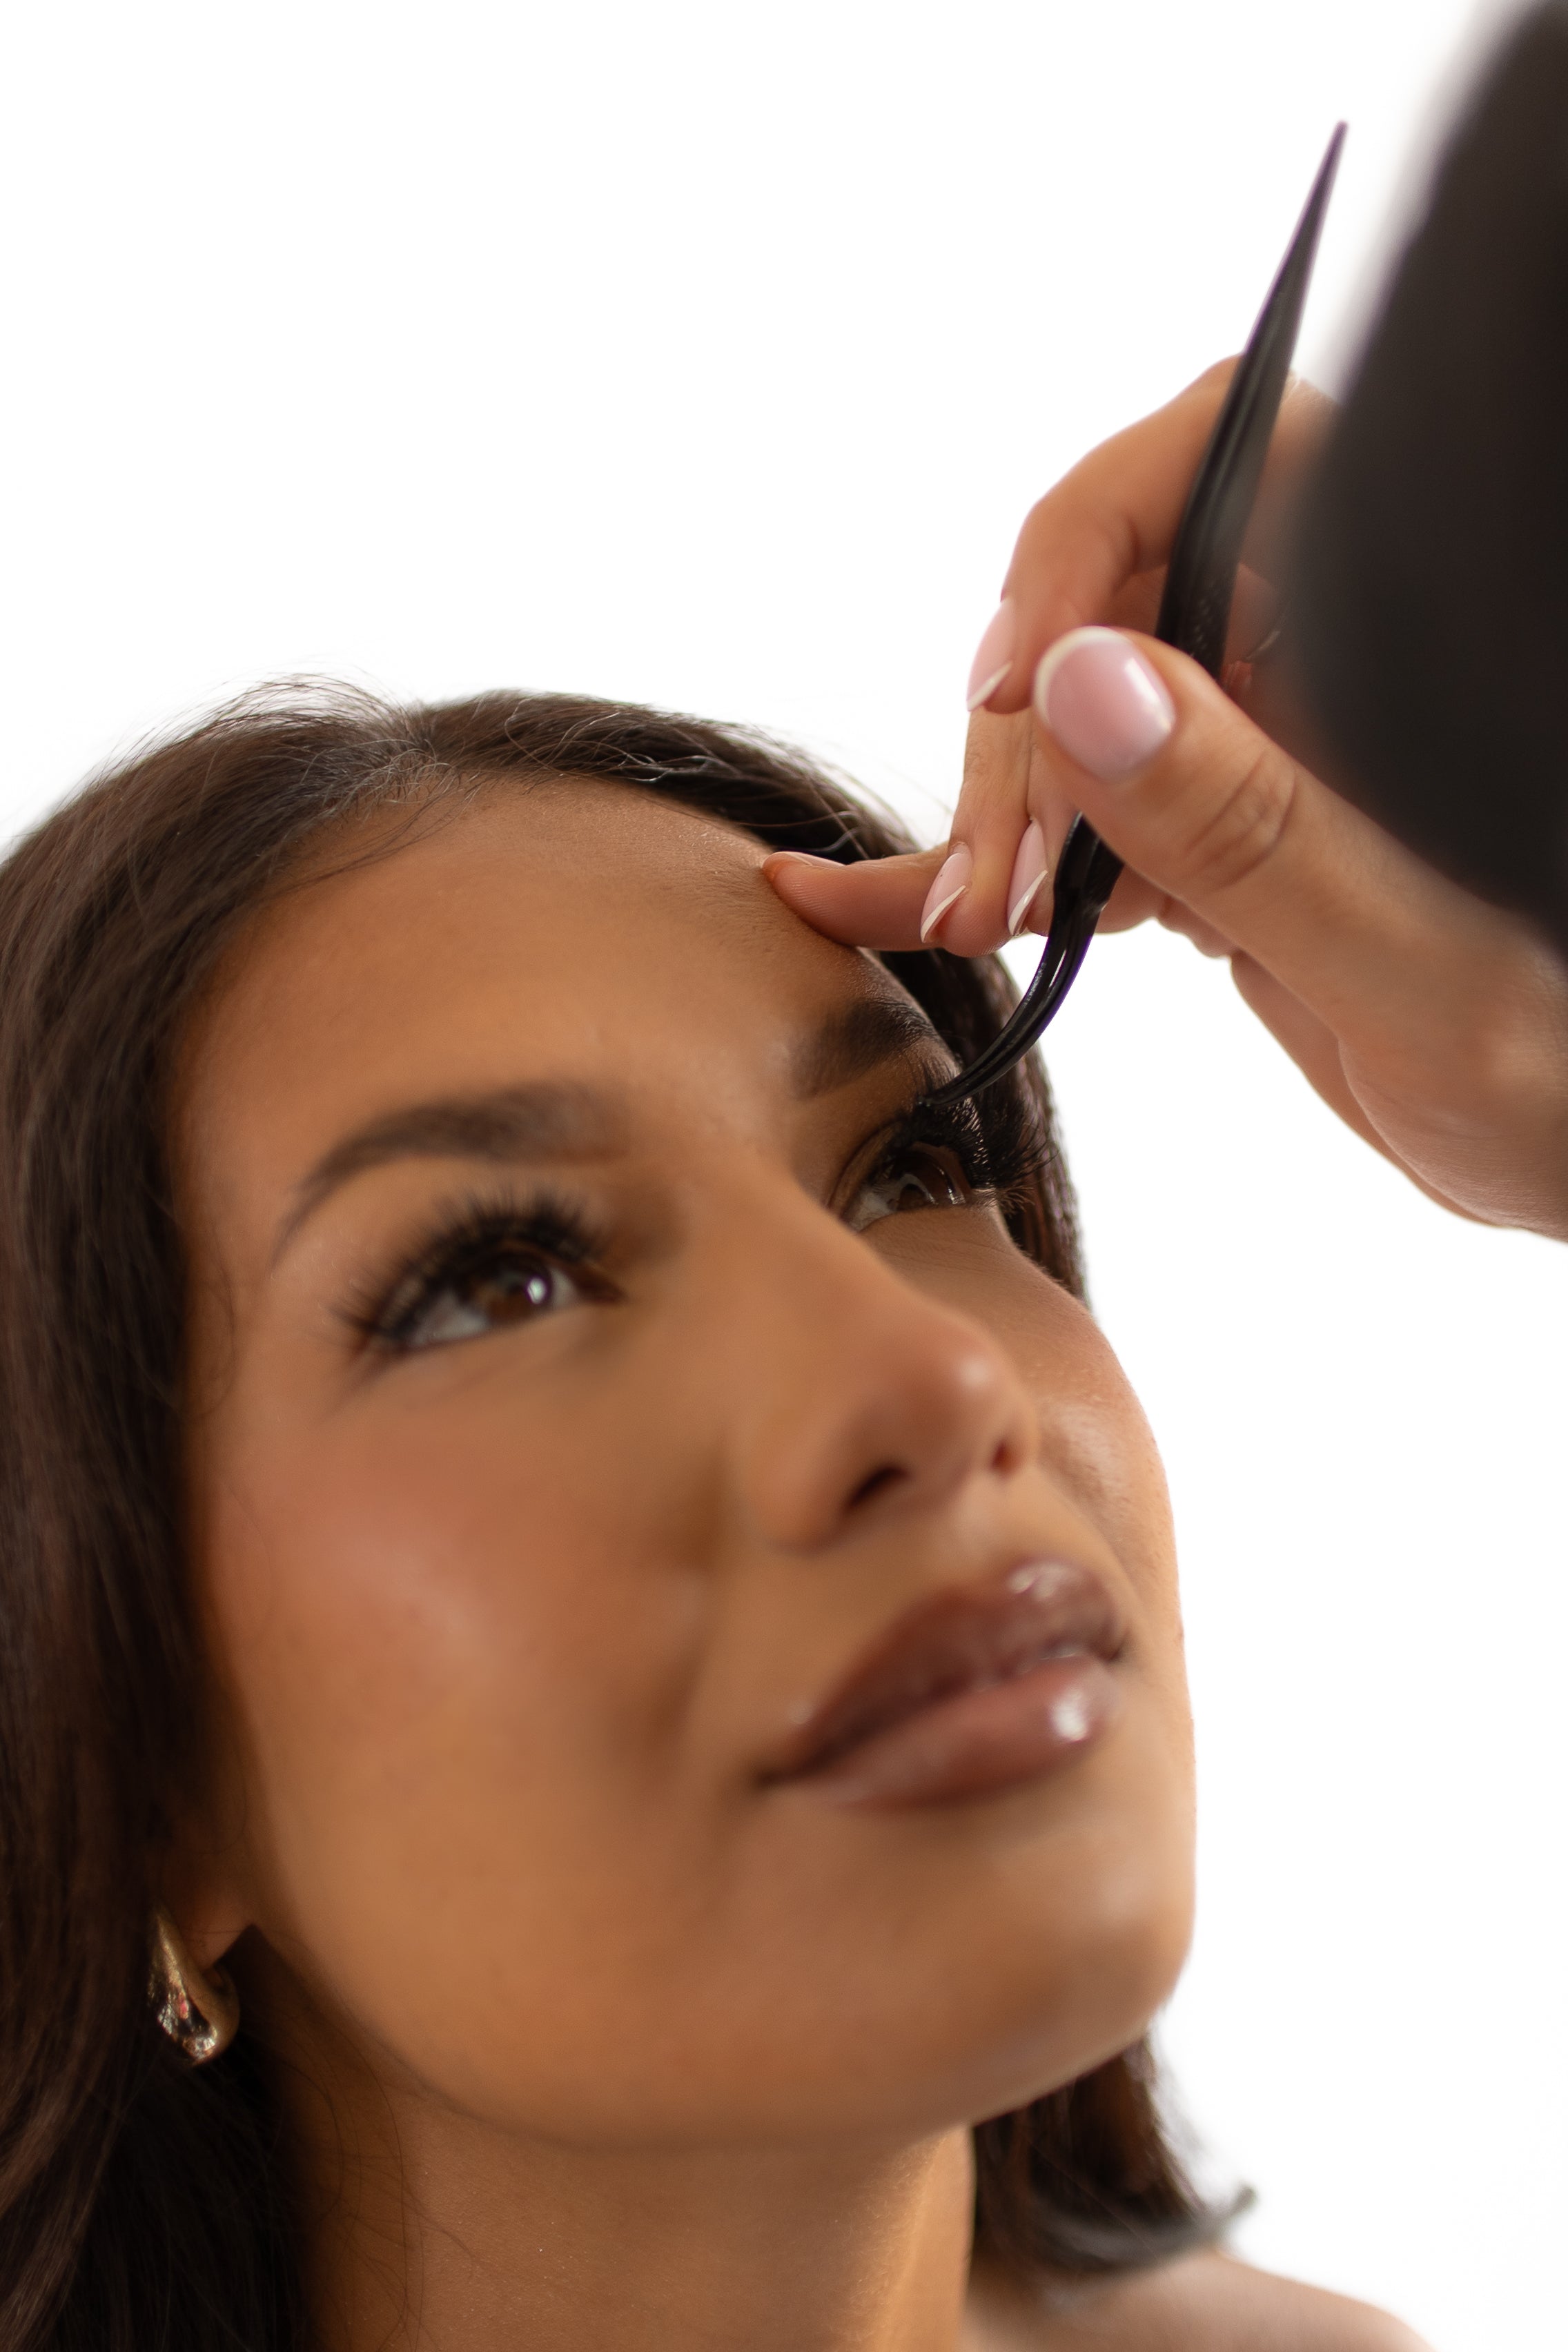
Using our LASHPRO APPLICATOR , gently remove the first lash segment from your tray. Apply the segment under your natural lashes approximately 1-2mm from the lash line, starting at the outer corner of your eye and working inward. This method ensures a natural and seamless appearance.
Lash mapping : For a stretched cat eye effect, we used the following lengths in this tutorial: 14-12-12-12-10 mm .
Step 3: Attach the extensions
Once your application is complete, use the LASHPRO APPLICATOR to apply light pressure to the base of the lashes. The curve of the applicator is specially designed to adapt to the shape of your eyes, which helps to fix all the segments evenly and reinforce their hold.
Step 4: Apply LASHFUSION Sealer
Finally, apply a thin layer of LASHFUSION sealer to the lash line. This will eliminate the stickiness of the adhesive and extend the life of your application, ensuring perfect hold for up to 7 days !
And there you have it ! Enjoy your new lashes to the fullest with impeccable hold and a sublime look that lasts all week !
Pro Tip : For best results, avoid getting your lashes wet or exposing them to heat or humidity for 24 hours after application.



2 Comments
Hello Emeline
Oui c’est normal si la colle ne te semble pas complètement “sèche sèche” après la pose !
La colle est formulée pour rester légèrement flexibles une fois sèche.
Elles ne devient pas rigide comme les colles d’extensions en salon, mais modulables, grâce à sa composition à base de polymères souples.
C’est ce qui leur permet de :
suivre les mouvements naturels de tes paupières quand tu clignes ou dors,
éviter la casse ou la traction sur les cils naturels,
et offrir une tenue longue et confortable, jusqu’à 7 jours
💡 Petit conseil : applique la colle plutôt le matin, car la nuit, les yeux fermés et l’humidité peuvent ralentir le séchage (ce qu’on appelle la polymérisation). En journée, elle aura le temps de bien se stabiliser avant le coucher.
Tu dois pouvoir cligner naturellement des yeux sans aucune gêne ni sensation de tiraillement c’est le signe que la colle a bien pris tout en restant souple.
j ai acheter un pack est j aime beaucoup le rendu.MAis j ai un problème j ai l impression que la colle ne sèche pas quand je dort quand j éternue quand je cligne des yeux un peu fort mes cils supérieurs inférieure se colle légèrement ensemble pourquoi ?